How to boil out a deep fryer – the best way to clean deep fryers properly every time
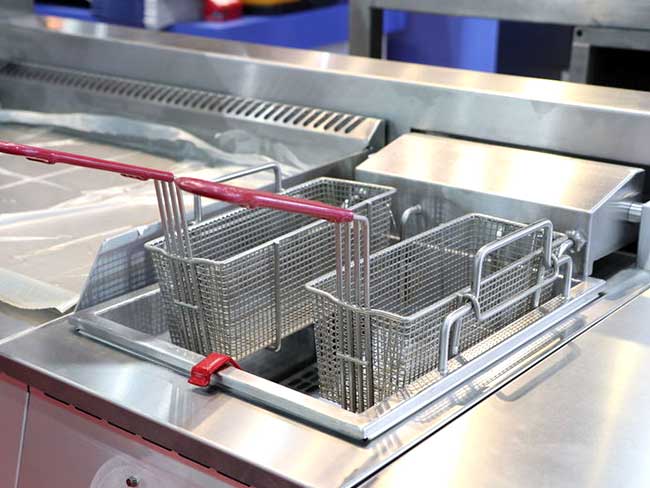
Why is a clean deep fryer important?
Regularly cleaning and maintaining your commercial deep fat fryers properly should be a critical part of any commercial kitchen’s operations. The cleanliness of your fryers, and your fryer oil itself, directly impacts your food quality, the lifespan of your fryer, and your bottom line.
A clean fryer helps your oil last longer. Proteins, polar contaminants and build-up on your fryer walls will immediately affect your fresh oil. Not only will it affect the taste and texture of the fried food but will also cause the oil to degrade faster and be replaced more regularly.
Not only does proper fryer cleaning help to improve overall food quality and taste, but it also increases your energy savings. Fryers free of carbon build up take less time to heat up and have more even heat distribution. Proper fryer care will also increases the lifespan of your fryer and keep it at its optimum performance.
There are also safety factors to consider. Deep fryers are responsible for many restaurant fires, and this is attributed to improper (or a lack of) fryer cleaning and maintenance.
A boil out is an excellent way to break up carbon build up and grime in your fryer and pave the way for a thorough, deep clean. Keep reading to find out how to boil out your deep fryer.
What does it mean to boil out a deep fryer?
A fryer boil out is a simple process wherein water and fryer cleaning / degreasing agents are put into an empty fryer and left to boil. The boiling will clean the inside of your fryer, the fryer baskets and utensils. It will boil and break down the baked-on carbon and grease build ups.
How often should you boil out a deep fryer?
Routine general cleans should always be carried out daily. How often you do a full fryer boil out depends on various factors such as the level of operation, size of the fryer, the type of oil used and your oil management and oil filtration standards. Provided your oil is regularly filtered and stabilized by a knowledgeable fry oil manager, a boil out should be done after every few oil changes or at least once a month.
High-use fryers in restaurants with large food output may need to be boiled out more regularly – at least once weekly.
Suggested read: How to Test Frying Oil Quality & Correctly Establish When to Replace it
What you will need
Before you start your boil out, make sure you are equipped with the tools and equipment needed. There are many deep fryer cleaning tools available on the market, but the following essentials will be needed for any commercial fryer boil out:
- Deep fryer boil out cleaner
- Oil storage container
- Stainless steel bucket
- Crumb scoop
- Deep fryer cleaning rod
- Deep fryer scrub brush
- Deep fryer drain brush
- Lint-free cloth
- Protective apron, gloves and goggles
Step-by-Step Instructions to Boil Out a Commercial Fryer
Although these same steps will almost always apply, read the care and maintenance instructions supplied by the manufacturer on the proper cleaning and running of your fryer.

Step 1:
Remove the baskets from your deep fryer, turn it off completely and leave it to cool down. The oil should be no warmer than 170′ F before proceeding.

Step 2:
Drain the now cool oil from the deep fryer into a stainless steel oil storage container for safe and proper disposal or recycling.

Step 3:
Use a crumb scoop and fryer drain cleaning brush to remove any leftover debris from the fryer and fryer drain. Use a fryer cleaning rod to dislodge debris from hard to reach places.

Step 4:
Use a scrub brush to scrub the walls and base of the inside of the fryer. Get rid of as much debris as you can.

Step 5:
Once the fryer and drain is free of debris, fill the fryer to the level line with cool water and add your chosen fryer boil out cleaner. Follow the instructions provided by the manufacturer to ensure you use the right amount for your size fryer. Do not overfill the fryer.

Step 6:
Turn your fryer back on and let the water and cleaning solution boil for around 15 – 20 minutes. If the fryer is particularly dirty, leave it up to 30 minutes.
Tip: After filling the fryer and adding your chosen boil out cleaner in step 5, scrub debris off your fryer baskets and utensils and put them back into the fryer to be cleaned during the boil out process for an extra good degreasing.

Step 7:
Proceed to turn the fryer off and leave the water and cleaner solution to cool down.

Step 8:
Once cooled, drain the water from the fryer into an appropriate container and dispose of it.

Step 9:
After draining, thoroughly wipe down the whole interior of the fryer with a lint-free cloth. If needed, use the scrub brush and cleaning rod again to scrub off any last remnants.
Note: If you left your fryer baskets in the fryer during boil out, remove them for additional cleaning or drying. Make sure they are dry before putting them back into your fresh oil. NEVER add wet items into hot oil.

Step 10:
Use a rinsing agent to rinse the fryer, and then rinse thoroughly a final time with water. Make sure the fryer is rinsed thoroughly so as to not leave any residue that may affect the quality of your oil or leave a taste. Your boil out is now complete!
Make the job easier with fryer cleaning brushes and accessories
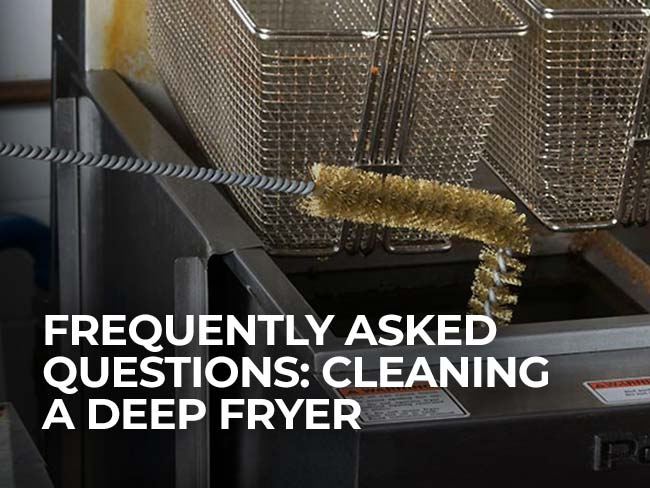
During steps 3 and 4 of this process, you can make your deep fryer cleaning a breeze with heat-resistant cleaning brushes and tools specifically designed for deep fryers, available to you by The FryOilSaver Company. When a fryer cleaner brush is used, no down time is required as fryers don’t need to be shut down to cool before cleaning. No down time for cleaning means longer operating times with better long-term profits!
Watch the video below to learn more about deep fryer cleaning accessories that will make your fryer cleaning process quick and easy, with less downtime.
Shop the tools you need for a boil out with free shipping in the USA
-
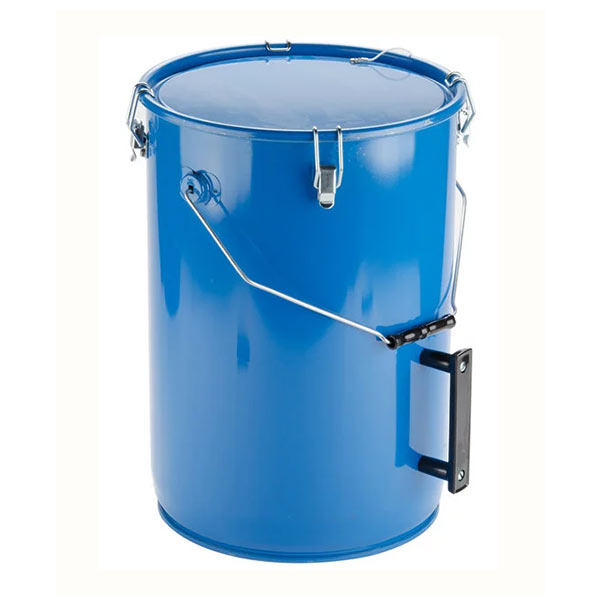 MirOil Utility Pail for Hot Oil, Model 02030 / 30L – Hold 6 GallonsStarting From: $137.00
 -
 Stera-Sheen Red Label Boil Out Fryer Cleaner – 24x 6oz PacketsStarting From: $42.50
 -
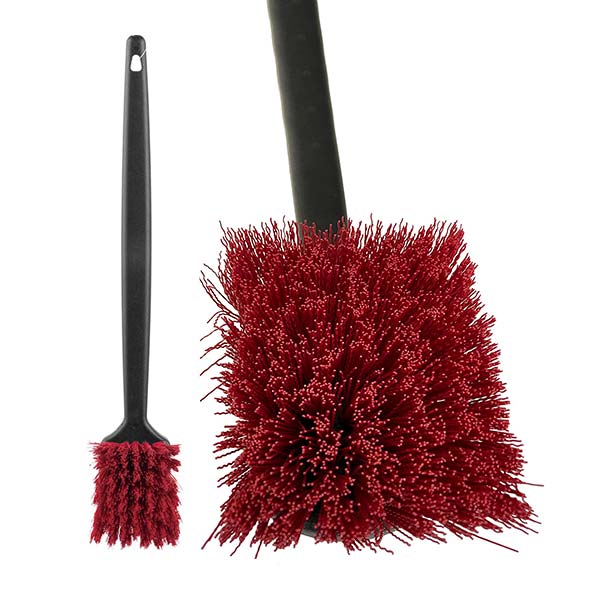 FryOilSaver High Heat 20″ Fryer Cleaning Brush – 90049Starting From: $28.90
 -
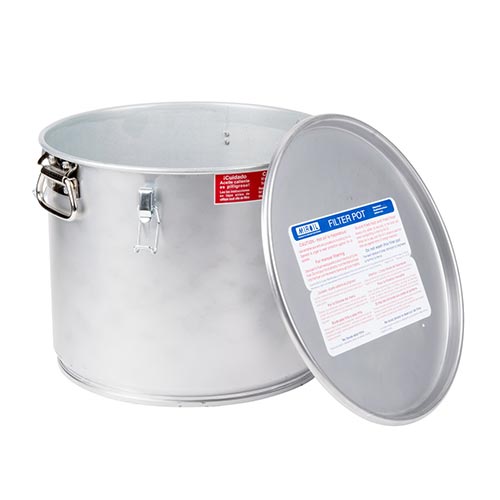 Miroil Grease Bucket / Filter Pot With Lid 02060 – 60L 7 GallonStarting From: $188.00
 -
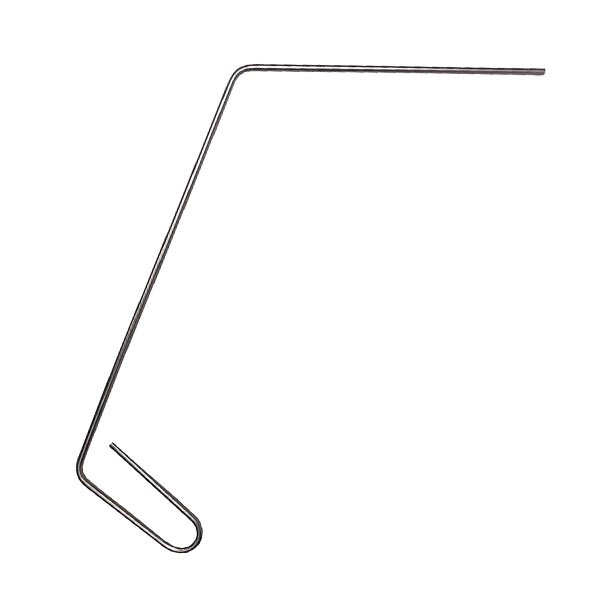 FryOilSaver 25″ Deep Fryer Clean Out Drain Declogger RodStarting From: $20.50
 -
 Brushtech B51C Deep Fryer Basket Cleaning Brush$28.50
 -
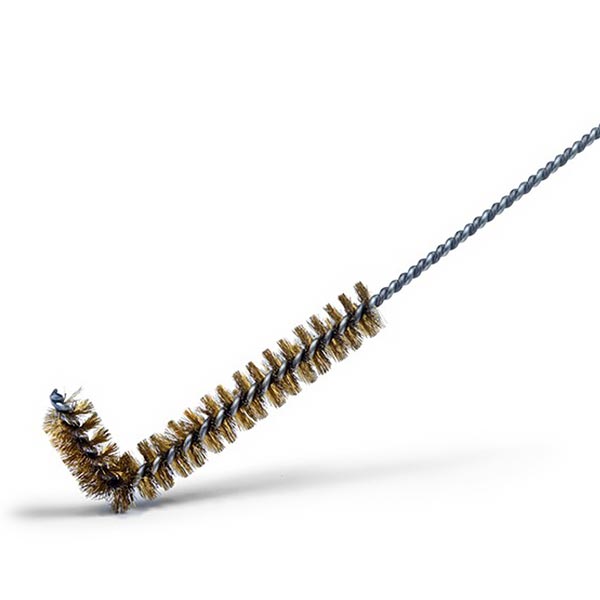 FryOilSaver B53C L Shape Fryer Drain & Cooling System Cleaning Brush$25.50
 -
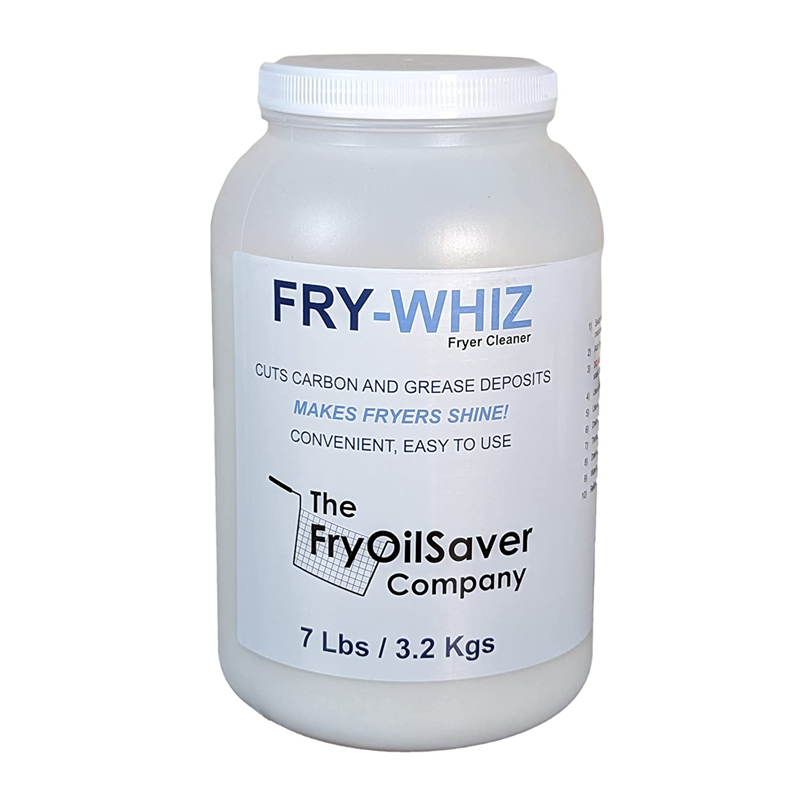 Fry-Whiz Deep Fryer Cleaner – 1 Gal$62.90
 -
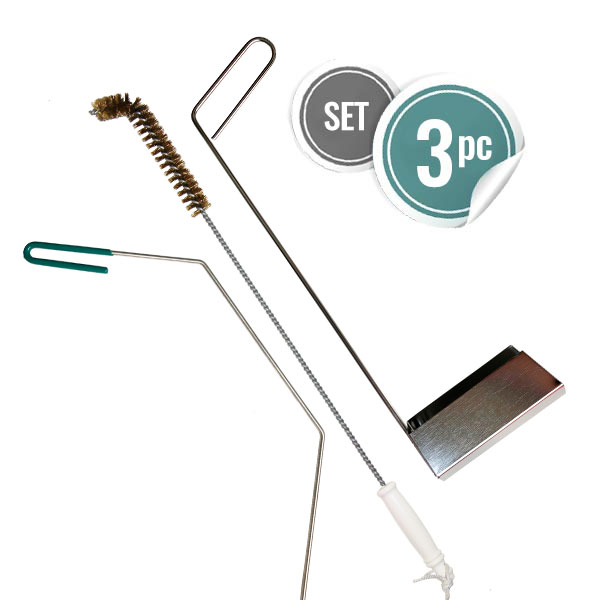 FryOilSaver Co. 3 Piece Fryer Cleaning Set – Cleaning Rod, Bristle Brush & Crumb ScoopStarting From: $78.50
 -
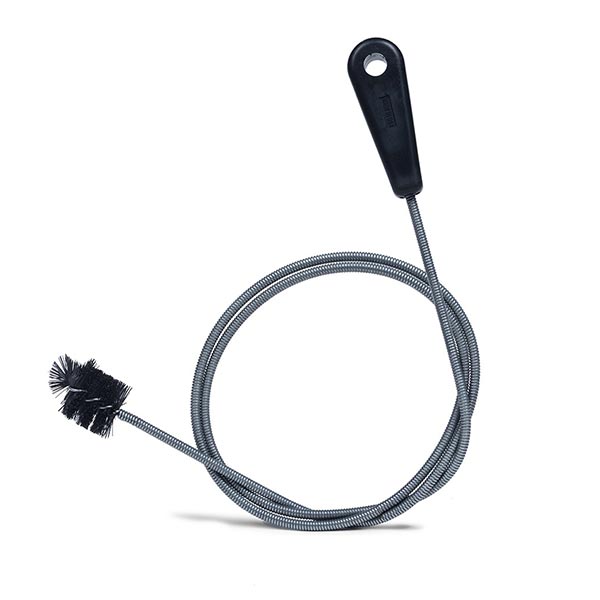 Brushtech Extra Long Super Flexible Drain Brush – 48 inch$17.95
 -
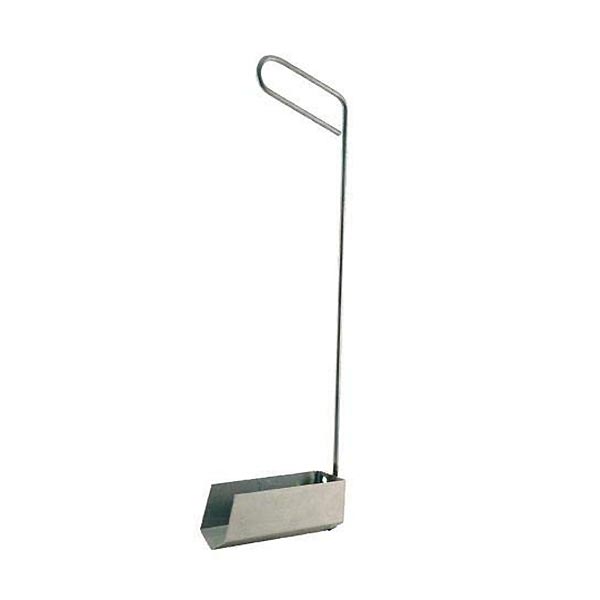 FryOilSaver V-Shaped Deep Fryer Crumb ScoopStarting From: $53.00
 -
 FryOilSaver B52C Deep Fryer Drain & Cooling System Cleaning Brush$21.50


